OVERVIEW:
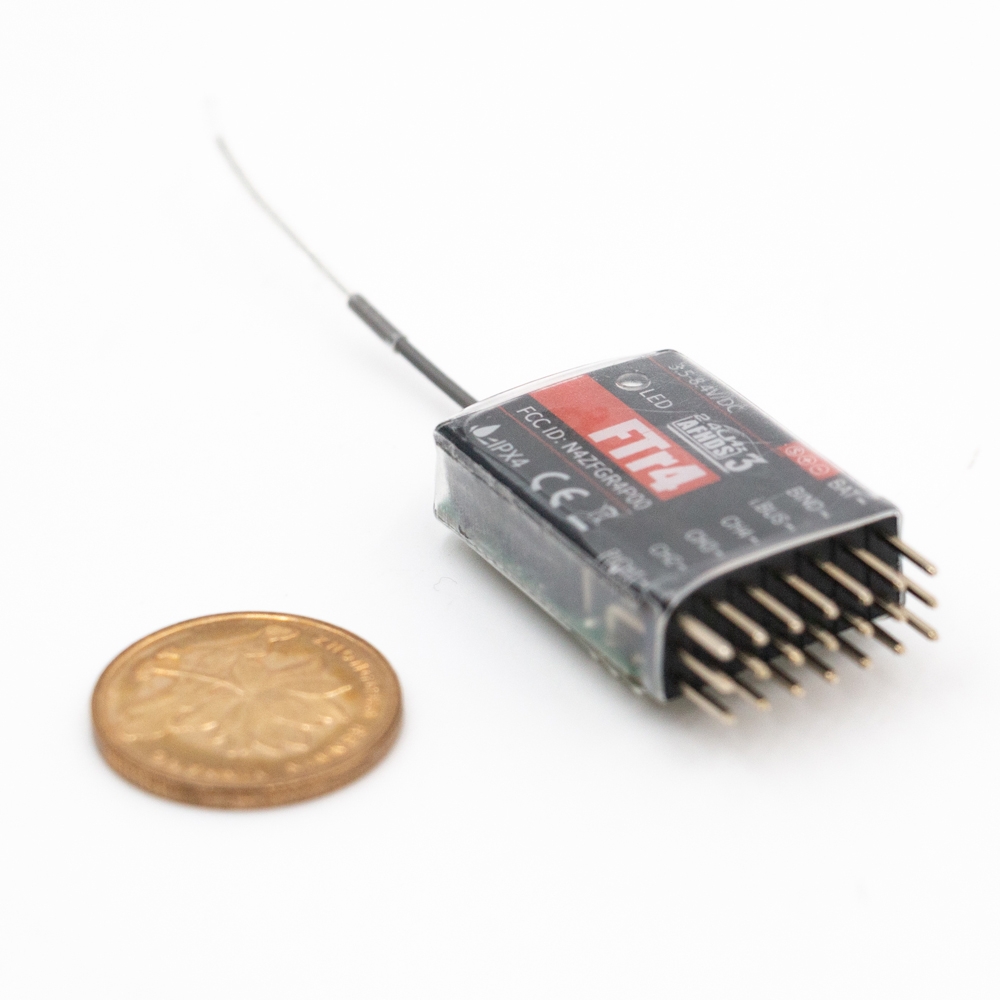
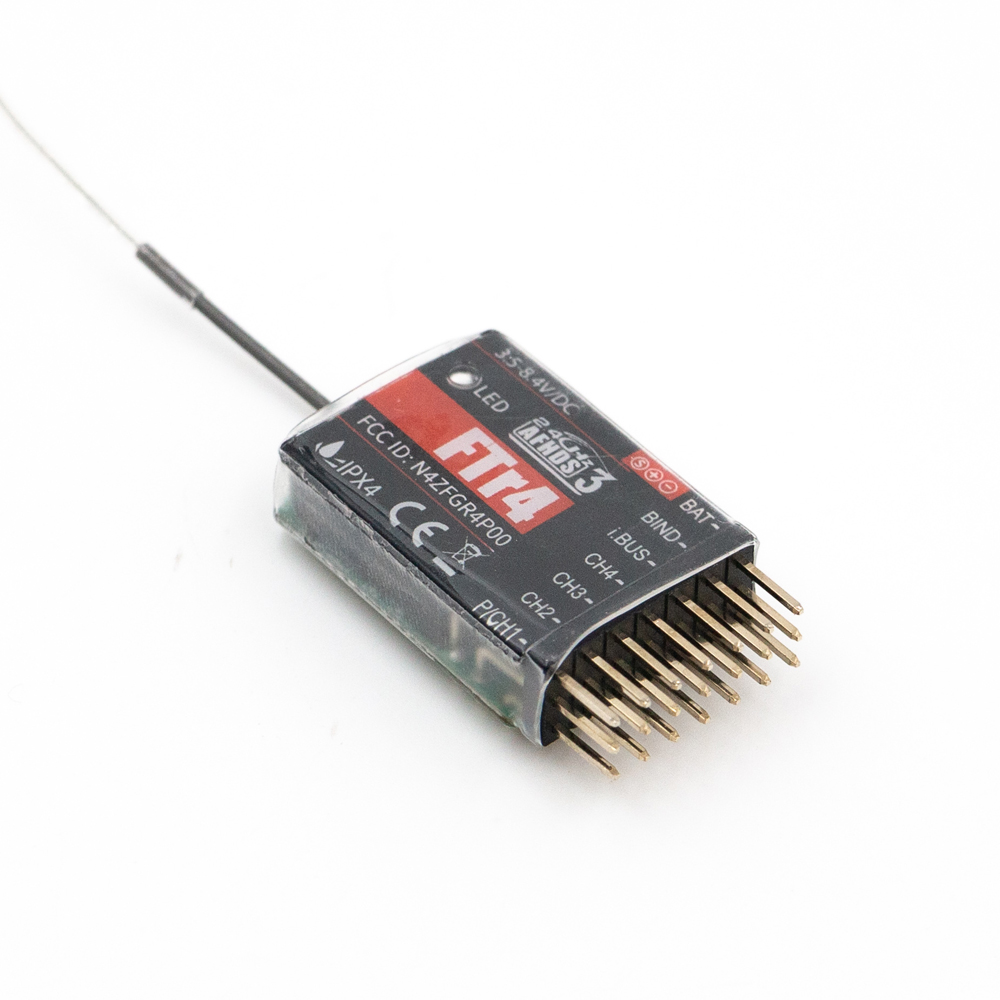
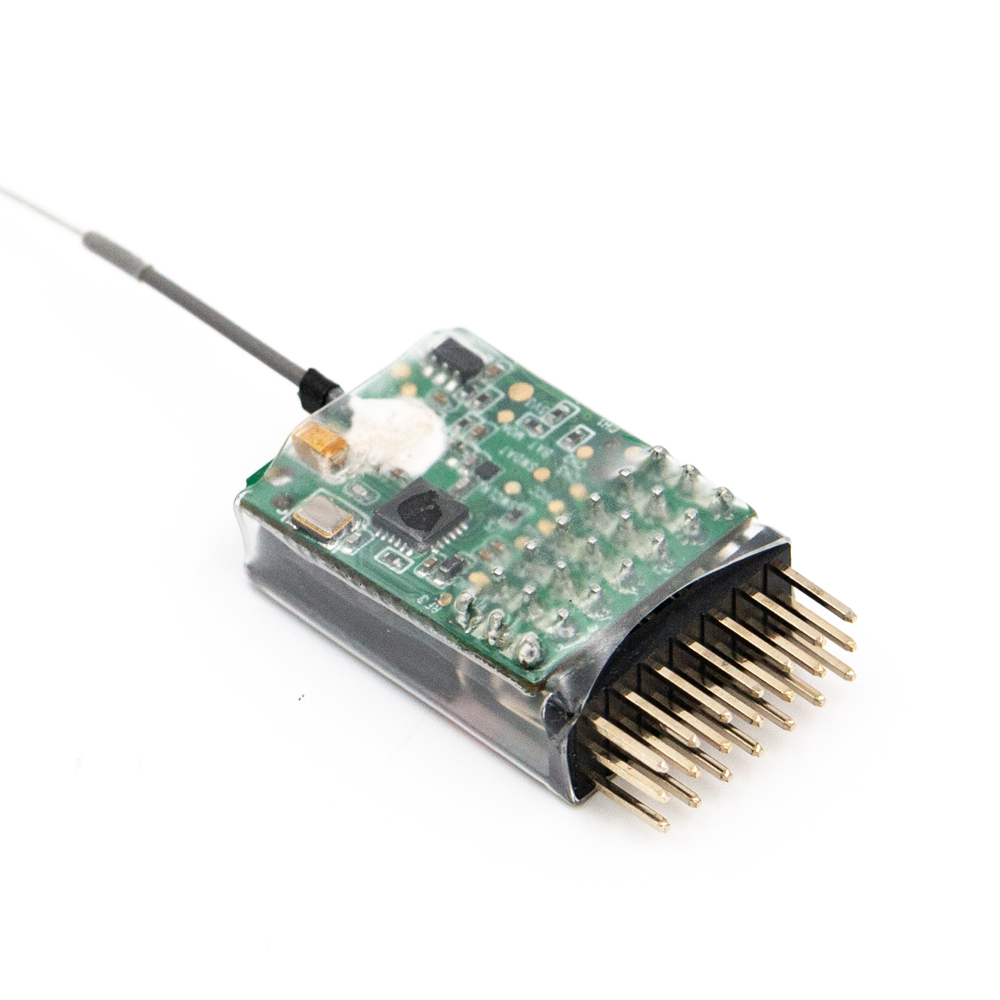
FTr4 adopts AFHDS 3, Flysky s third-generation automatic frequency hopping digital system. It uses a single-antenna bidirectional transmission system and is uniquely designed to save space and output standard PWM, PPM, i BUS and S.Bus signals.
Description:
Brand Name: FlySky
Item Name: FTr4 Receiver
Binding:
Note:
Attention:
Package Included:
1 x FTr4 Receiver
PWM Channels: 4
RF.2. 4GHZ
2. 4G Protocol: AFHDS 3
Distance: >500m (Range without interference 1m from the ground)
Antenna: Single Antenna
put Power: 3.5-8.4V
RSSI: Yes
Data Output: PWM/PPM/i BUS/S BUS
Temperature Range:15°C-+60°C
Humidity Limit: 20%-95%
Online Update: Yes
Dimensions: 33.7*20*107mm
Weight: 4.9g
Certification: CE, FCC ID N4ZFGR4P00
Binding:
1. Insert the bind cable into the receivers bind port
2. Plug the power cable into any other port, and the receivers LED will start to flash quickly indicating that it has entered bind mode
3. Put the transmitter into bind mode; (See the transmitters instruction manual for more information)
4. Binding is successful when the receivers LED will stop flashing
Remove the power and bind cables from the receiver.
5. Reconnect the power cable to the receiver
6. Check to make sure that the transmitter and receiver are working as expected, if there are any issues or unexpected operation follow the steps above to bind again.
Note:
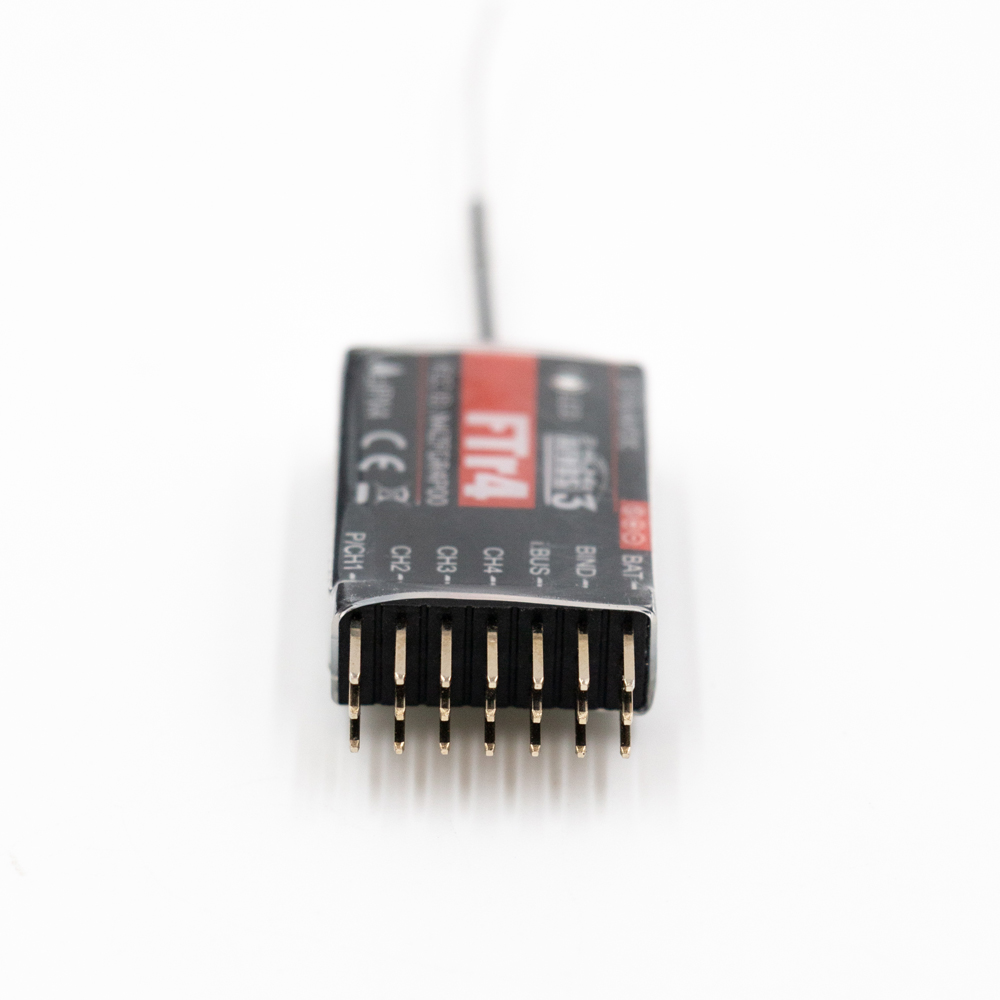
Ports used to connect the receiver to the various components
BAT: Separate power supply interface for the receiver
BIND: For bind cable
i BUS: Connects to the i bus module for channel expansion
CH 1-CH 4: Connects the servos, power supply or other components
Note: Refer to the transmitter's or sensor's user manual
for further information on how to connect and set up sensors
If after an update the transmitter is unable to connect or bind to the receiver, it is necessary to put the receiver into forced update mode
1. nsert the bind cable and CH4 as shown to short the pins and enter forced update mode
2. Then go to the RX Setup menu and select RX update as normal
3. updating is successful when the receiver status indicator flashes slowly
This function protects the user by preventing the model from behaving unexpectedly if signal is lost.
Make sure to setup the failsafe function on the transmitter. For more
information on setting up the failsafe refer to the transmitters user
manual
- When a receiver has been rebound to the transmitter the failsafe function will reset to its default settings
Attention:
Make sure the product is installed and calibrated correctly, failure to do so may result in serious injury.
Make sure the receiver's battery is disconnected before turning off the transmitter, failure to do so may lead to unintended operation or loss of control.
Make sure the receiver is mounted away from motors, electronic speed controllers or any device that emits excessive electrical noise.
Keep the receiver's antenna at least 1 cm away from conductive materials such as carbon or metal.
Do not power on the receiver during the setup process to prevent loss of control.
Package Included:
1 x FTr4 Receiver