


Specifications:
TFT Display Diagonal 5 inch Resolution 800x480 Contrast 500:1 Luminance 350cd/ã¡ OLED Display Diagonal 2.4 inch Resolution 128x64, Blue Font
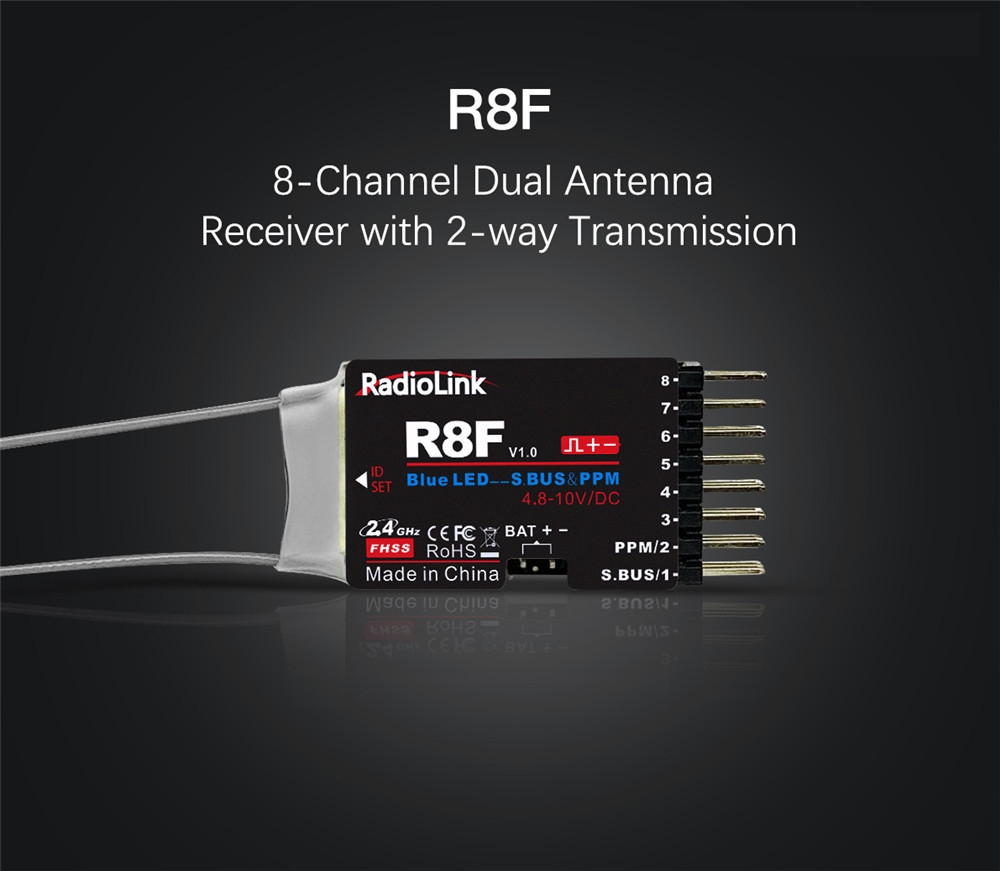
Wireless Receiver ISM 5.8GHz 48 Channel, Diversity receiver.
Operating
Frequency Band CH 1 CH2 CH3 CH4 CH5 CH6 CH7 CH8 A 5865M 5845M 5825M 5805M 5785M 5765M 5745M 5725M B 5733M 5752M 5771M 5790M 5809M 5828M 5847M 5866M E 5705M 5685M 5665M 5645M 5885M 5905M 5925M 5945M F 5740M 5760M 5780M 5800M 5820M 5840M 5860M 5880M R 5658M 5695M 5732M 5769M 5806M 5843M 5880M 5917M L 5362M 5399M 5436M 5473M 5510M 5547M 5584M 5621M Sensitivity -90dBm±1dBm Antenna port 2 X SMA,50ohm
Record Micro SD Support to 32GB Compression MJPEG, 30fps, AVI Record rate 6Mbps
AV Signal Video Standard NTSC/PAL Video output level 1.0Vp-p Typ. / 75ohm Audio output level 1.0Vp-p Typ. / 10Kohm
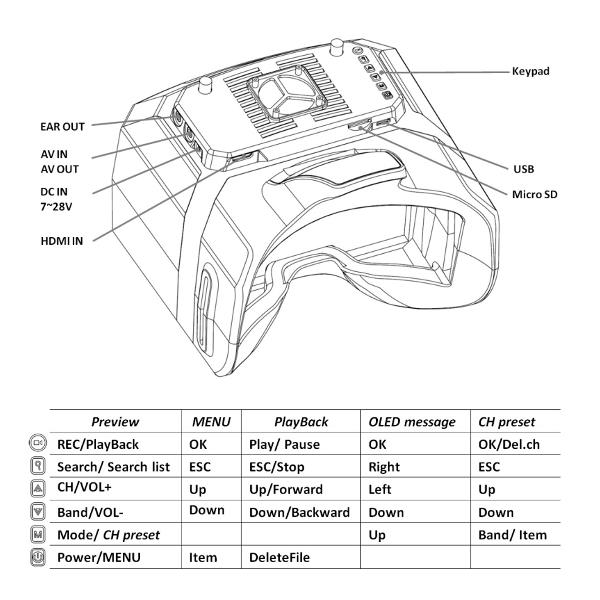
AV Port AV IN/OUT(3.5mm4P) Video/ Audio output, Video/Audio input HDMI IN
(Mini HDMI/C-Type) 1920x1080p60, 1920x1080p50, 1920x1080i60, 1920x1080i50,
1280x720p60, 1280x720p50, 576p, 576i, 480p, 480i, PC Format(Not all) Power Supply DC IN DC 7V-28V/ 1A Power Consumption 12V input: 10.2W Dimensions 150(L)X158(W)X106(H)mm(Not include prominent part) Weight 320 g
Power On/Off
· Hold the button to power it on.
· To power it off, hold the button.
Operating Mode
· This device may work in RF, AV IN, PLAYBACK mode.
· In video state, you cannot switch modes.
· In RF preview mode, when AV IN signal cable is connected, the device will automatically switch to AV IN mode.
RF Mode
· In RF preview mode, shortly press the button to adjust channels and the button to adjust bands.
CH search
· In RF mode, shortly press the button to enter the automatic channel search mode.
· When the search is completed, the device will work at the strongest channel , display include the list of available channels. Shortly press the or button to select channels, and shortly press the button to confirm. During channel search, shortly press the button to stop search.
· In RF mode, after the channel search command is implemented, hold the < Search > button to pop up the list of search results and have multiple choices.
CH preset
· In such mode, the user may allocate the frequent channels and search the preset channels.
· Hold the key to enter the channel preset mode. All the channels are displayed on the left and 8 channels are display on one page. Press the key to switch Band (switch to other pages). Hold the key to enter the channel preset list where you can choose or delete existing channels and hold the key to back to the left channel page or hold the key to exit.
OLED Display
· The OLED screen may display the information of the channel received in wireless manner.
· In the system menu , you may set the information displayed in the bottom area of the OLED screen.
Recording
· It is recommended to format the storage card once if it is installed for the first time or after it is used for long. (See “Format SD Card” below for details).
· In both RF mode and AV IN mode, you may use the function of video; in normal preview state, the screen will display . In such case, you may press the button to start to take videos; after that, the screen will display a red icon and the blue LED in the device will flash.
· In default, the video taken includes sound. You may close “Video Sound” in the system menu and record only video signals.
Playback
Functions of Buttons in Playback Mode (all keys allow only short press):
· In RF mode or AV IN mode, hold the button to enter the playback mode;
· REC/OK < Play/Pause/OK> button
· Search/ESC < Stop/Back>button
· UP < Previous/FF>button
· DOWN < Next/FB> button
· POWER/MENU button
· In playback mode, you may directly preview the video in the preview card, and the upper right corner of the screen display will display the back 4 digits of the file name. In case of video file, the recording duration of such file will appear under its name.
· When playing a video, you may press the button to quickly play the video at 2X, 4X, 8X speed and press the button to restore to normal speed. When the play is over, the screen will stay at the first frame of the video. In such case, you may press the button to back to the preview state and execute other operations or replay the video.
· While browsing the file in the storage card, to delete it, you may press themenu to pop up the deletion menu, and then press the button to delete the current file.
· This device may not normally identify the other files not created by it
AV input
· When AV IN connection cable is inserted, the module in relation to wireless reception will be inactivated to save power.
· NTSC/PAL video input is supported.
HDMI input
· Can use the HDMI input high resolution video to get clearer picture.
· Support standard HDMI video resolution ( The highest input is 1920X1080/60Hz)
· It can’t record in the HDMI IN mode.
AV output
· Through the AV OUT port, you may output the AV signals of RF receiver.
· In playback mode, only the output of NTSC videos is supported.
Display Ratio
· The images input are controlled to display at 4:3 or 16:9. In menu, the option “Display Ratio” may activate such functions.
· The default display ratio is 16:9 and the device always displays in full screen.
Format SD Card
· Enter the system menu, choose the option “Formatting”, press the button to enter the setup state, press the button to choose , and then button to execute formatting.
· Please carefully operate such function, after formatting, all the files in the SD card will be deleted.
Factory Settings
· Enter the system menu, choose the option of “Factory Settings”, press the button to setup state, press the button to choose , and then button to restore all the settings in the menu to factory ones.
Screen OSD Overview
· Video icon: in red during videoing.
· SD card icon: in original color in normal case, followed by capacity information and in GB (1,000MB). When the SD card is full or has errors, such icon will be in red.
· Mode icon: such modes as RF, HDMI IN, AV IN and PLAYBACK are available.
· Mode icon: displayed after the device is connected to PC. In such mode, you may operate PC to manage the contents in the SD card (PC Playback, Copy and Delete are available).
· Play/Pause icon.
· FB/FF icon. In case of FB/FF, such icon is followed by corresponding speed.
· Power supply icon: set as DC IN mode. The screen displays the icon without monitoring the power voltage. If battery is used for power supply, set the battery power supply mode, then the screen will display the power capacity icon.
· indicates full power, indicates low capacity, DC IN indicates connecting with external power supply.
· RF mode: In such mode, the device will display the current band (A, B, E, F or R), channel (1, 2, 3, 4, 5, 6, 7 or 8) and frequency information.
· HDMI IN mode: In such mode, the device will display the current resolution and frame rate information.
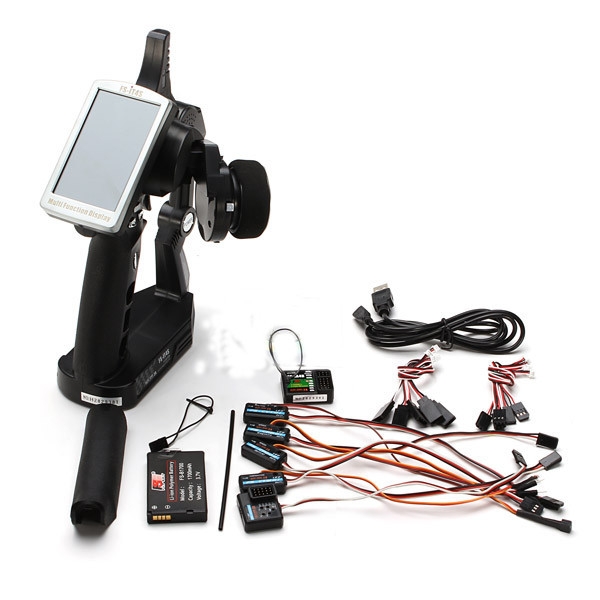
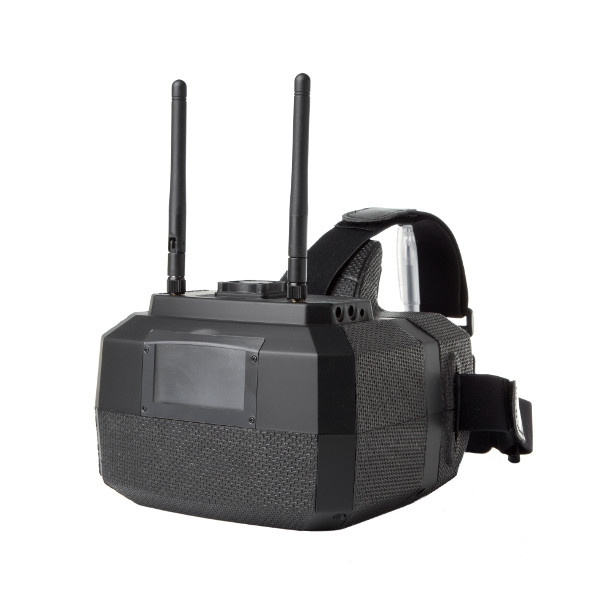
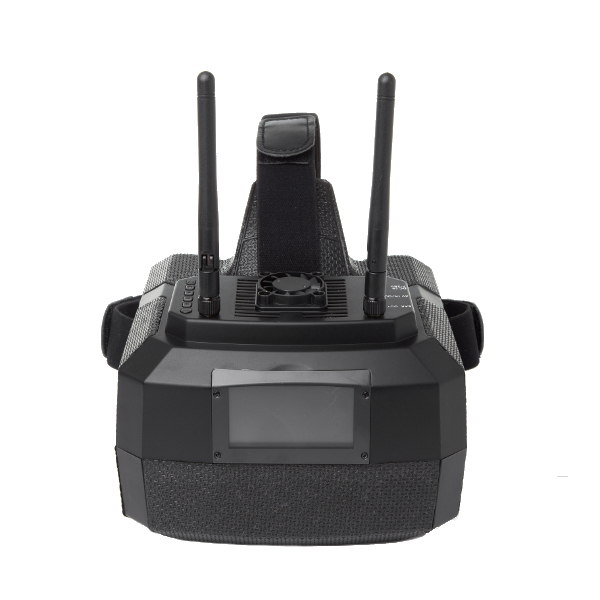
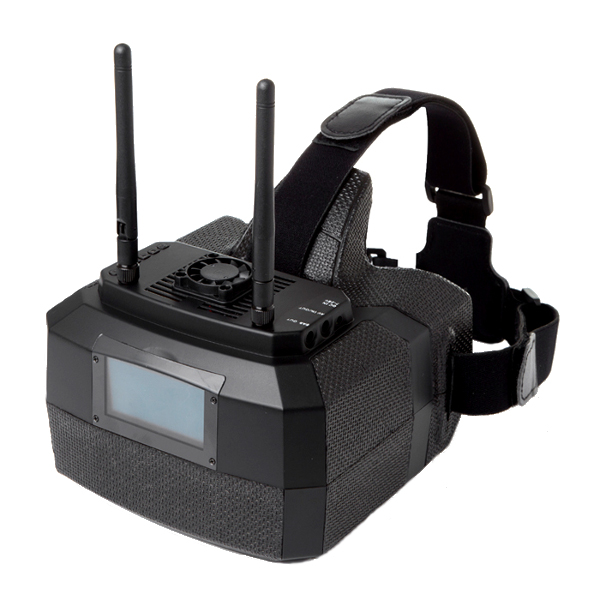
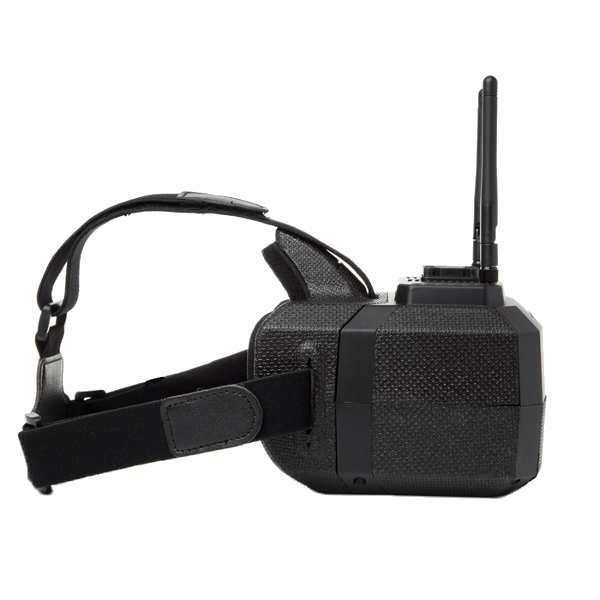
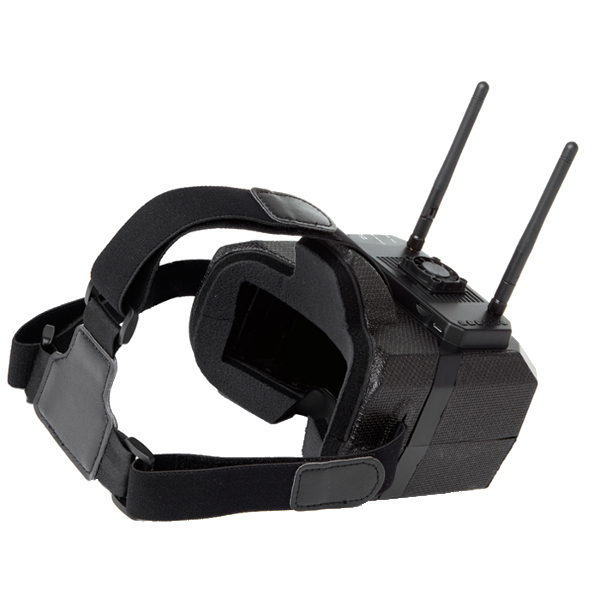
Package included:
1 x Skyzone GS500 Goggle
1 x Receiver
1 x Micro USB Cable
2 x 5.8G 2dBi antenna
Safety Warning
· Keep it off the rain and humidity environment for preventing fire, electric shock and damage.
· Please use the recommend accessories only.
· Only the eligible person can repair it, don’t disassemble the monitor.
· Don’t disassemble, throw, press, prick, cut ,roast and fire the product.
· Don’t put it in the place where temperature is more than 65â.